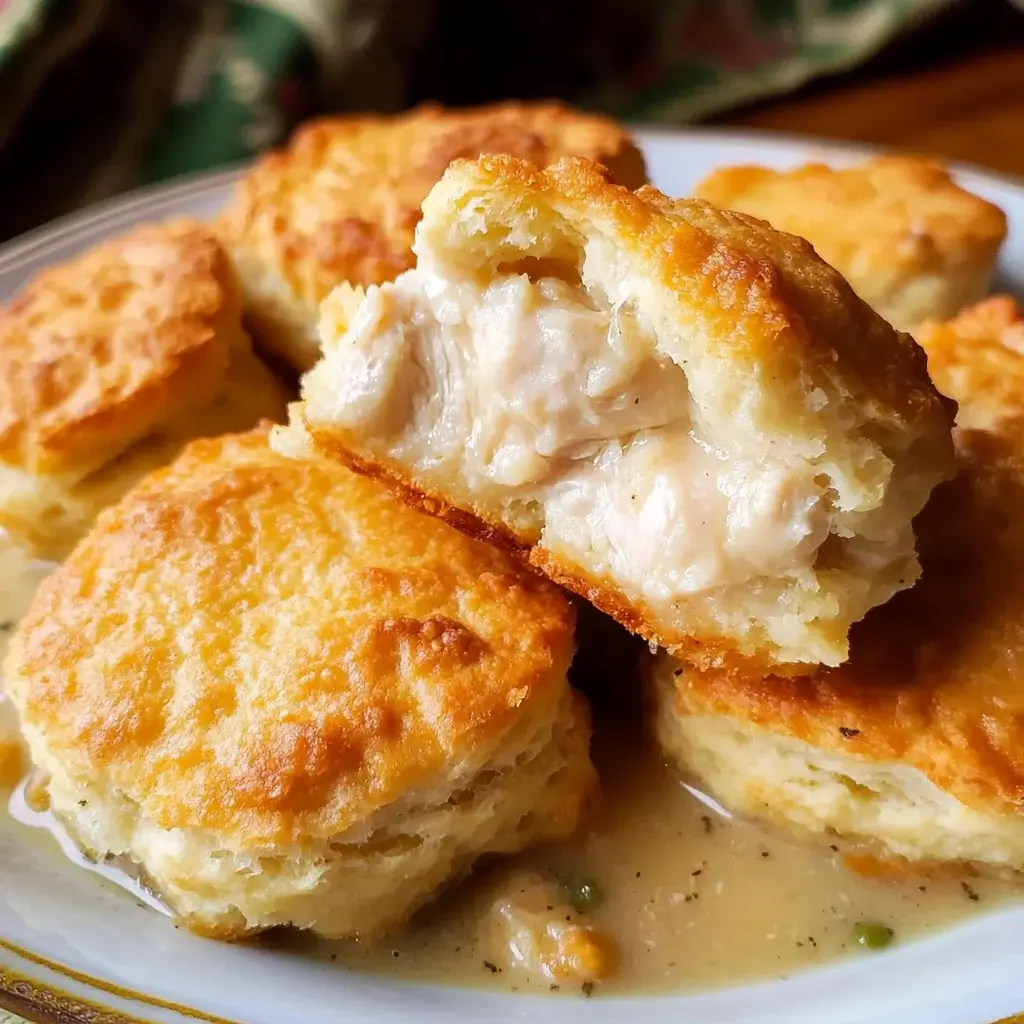
There’s something undeniably magical about a bubbling dish of Homestyle Chicken and Biscuits emerging thơm (fragrant) and golden from the oven. For my family, it’s more than just a meal; it’s an experience, a warm hug on a plate. The first time I made this particular version, the aroma alone had everyone migrating to the kitchen, asking, “What IS that amazing smell?” The creamy, savory chicken and vegetable filling, studded with tender pieces of chicken, all nestled under a blanket of fluffy, golden-brown biscuits – it was an instant hit. The kids, usually picky about vegetables, devoured their portions without a second thought, and my husband declared it the “ultimate comfort food.” Clean plates and requests for seconds are the highest praise in our house, and this recipe earns them every single time. It’s become a staple, especially on chilly evenings or when we just need a little extra dose of cozy. Sharing this recipe feels like sharing a piece of our family’s joy.
Ingredients
- For the Chicken Filling:
- 2 tablespoons unsalted butter: For sautéing the vegetables and creating a rich base.
- 1 tablespoon olive oil: Complements butter and helps prevent burning.
- 1 medium yellow onion, chopped (about 1 cup): Adds a sweet, aromatic foundation.
- 2 medium carrots, peeled and diced (about 1 cup): Provides sweetness, color, and texture.
- 2 celery stalks, diced (about 1 cup): Offers a subtle savory note and classic mirepoix flavor.
- 2 cloves garlic, minced: For a pungent, aromatic kick.
- 1/3 cup all-purpose flour: The key thickening agent for the creamy sauce.
- 2 cups chicken broth (low sodium preferred): Forms the liquid base of the sauce; low sodium allows for better salt control.
- 1 cup whole milk or heavy cream: Adds richness and creaminess to the sauce. Heavy cream will make it richer.
- 1 teaspoon dried thyme: A classic herb pairing for chicken, lending an earthy flavor.
- 1/2 teaspoon dried rosemary, crushed: Adds a piney, robust aroma.
- 1/2 teaspoon salt, or to taste: Enhances all the flavors.
- 1/4 teaspoon black pepper, or to taste: For a touch of warmth.
- 3 cups cooked chicken, shredded or cubed: Rotisserie chicken works wonderfully for convenience, or poach/bake your own.
- 1 cup frozen peas: Added at the end for a pop of color and sweetness.
- 1/4 cup fresh parsley, chopped (optional for garnish and flavor): Brightens the dish.
- For the Biscuits:
- 1 can (16.3 ounces) refrigerated buttermilk biscuits (e.g., Pillsbury Grands!): For a quick and reliably fluffy topping. Alternatively, use your favorite homemade biscuit recipe.
Instructions
- Preheat and Prepare: Preheat your oven to 400°F (200°C). If your skillet isn’t oven-safe, have a 9×13 inch baking dish or a similar-sized casserole dish ready.
- Sauté Aromatics: In a large, deep, oven-safe skillet (a 10-12 inch cast iron skillet is ideal) or a Dutch oven, melt the butter with olive oil over medium heat. Add the chopped onion, diced carrots, and diced celery. Sauté for 7-9 minutes, stirring occasionally, until the vegetables are softened but not browned.
- Add Garlic and Flour: Stir in the minced garlic and cook for another minute until fragrant. Be careful not to burn the garlic. Sprinkle the all-purpose flour over the vegetables and stir continuously for 1-2 minutes to cook out the raw flour taste. This creates a roux that will thicken the sauce.
- Create the Creamy Sauce: Gradually whisk in the chicken broth, a little at a time, ensuring there are no lumps. Once all the broth is incorporated and the mixture is smooth, slowly whisk in the milk or heavy cream.
- Season and Simmer: Stir in the dried thyme, crushed rosemary, salt, and black pepper. Bring the mixture to a gentle simmer, stirring frequently, and cook for 3-5 minutes, or until the sauce has thickened to a gravy-like consistency. Taste and adjust seasonings if necessary.
- Incorporate Chicken and Peas: Remove the skillet from the heat. Gently stir in the cooked, shredded, or cubed chicken and the frozen peas until everything is well combined and coated in the creamy sauce. If you’re using fresh parsley in the filling, stir it in now.
- Transfer if Necessary: If your skillet is not oven-safe, pour the chicken mixture into your prepared baking dish.
- Top with Biscuits: Open the can of refrigerated biscuits and separate them. Arrange the biscuits evenly on top of the chicken filling. They can be close together or slightly overlapping, as they will expand while baking.
- Bake to Golden Perfection: Transfer the skillet or baking dish to the preheated oven. Bake for 15-20 minutes, or until the biscuits are golden brown and cooked through, and the filling is hot and bubbly around the edges. If the biscuits start to brown too quickly, you can loosely tent the dish with aluminum foil for the last few minutes of baking.
- Rest and Serve: Carefully remove the Homestyle Chicken and Biscuits from the oven. Let it rest for 5-10 minutes before serving. This allows the filling to set slightly and cool down a bit. Garnish with additional fresh parsley, if desired.
Nutrition Facts
- Servings: 6-8 servings
- Calories per serving (approximate, based on 6 servings): 450-550 calories (This can vary significantly based on biscuit brand, use of milk vs. cream, and exact chicken portion).
- Protein: Approximately 25-30g. Crucial for muscle repair and satiety.
- Fat: Approximately 20-28g (will be higher with heavy cream and depending on chicken used). Provides energy and aids in nutrient absorption.
- Carbohydrates: Approximately 40-50g (mainly from biscuits and flour). The body’s primary energy source.
- Sodium: Can be high, especially with canned biscuits and regular broth. Using low-sodium broth helps manage this. Essential for fluid balance but best consumed in moderation.
(Note: These are estimates. For precise nutritional information, it’s recommended to use an online recipe calculator with your specific ingredients and quantities.)
Preparation Time
- Prep Time: Approximately 20-25 minutes (includes chopping vegetables and preparing chicken if not using pre-cooked).
- Cook Time: Approximately 30-35 minutes (sautéing, simmering, and baking).
- Total Time: Approximately 50-60 minutes. This Homestyle Chicken and Biscuits recipe is relatively quick to come together, especially if you’re using pre-cooked chicken and canned biscuits, making it a fantastic option for a weeknight family dinner that feels special without hours of labor.
How to Serve
This Homestyle Chicken and Biscuits is a hearty, all-in-one meal, but here are some delightful ways to serve it:
- Simply Scooped:
- Serve generous portions directly from the skillet or baking dish into bowls. Ensure each serving gets a good ratio of creamy chicken filling and at least one fluffy biscuit.
- With a Fresh Side Salad:
- A light, crisp green salad with a simple vinaigrette (lemon or balsamic) can provide a refreshing contrast to the richness of the main dish. Think mixed greens, cherry tomatoes, and cucumber.
- Alongside Steamed or Roasted Vegetables:
- If you want to boost the vegetable content further, serve with a side of steamed green beans, broccoli florets, or roasted asparagus.
- Garnishes for Flair:
- Fresh Parsley: A sprinkle of freshly chopped parsley right before serving adds a touch of color and freshness.
- Cracked Black Pepper: A few grinds of fresh black pepper can enhance the savory notes.
- A Dash of Paprika: Smoked or sweet paprika sprinkled over the biscuits can add color and a subtle smoky flavor.
- For a Potluck or Gathering:
- This dish travels well (if baked in a dish with a lid) and is always a crowd-pleaser at potlucks or family gatherings. Keep it warm until serving.
- Individual Portions:
- For a more elegant presentation or portion control, you can bake the chicken filling in individual ramekins and top each with a single biscuit. Adjust baking time as needed for smaller portions.
Additional Tips
- Rotisserie Chicken Shortcut: For an even quicker meal, use a store-bought rotisserie chicken. Simply shred or cube the meat, and you’ll save significant prep time while adding a delicious, roasted flavor to your Homestyle Chicken and Biscuits.
- Homemade Biscuits for Extra Love: While canned biscuits are convenient, if you have a favorite homemade biscuit recipe, by all means, use it! Prepare the biscuit dough while the filling simmers, then drop or place the cut biscuits on top. This elevates the dish to another level of homemade goodness.
- Vegetable Variations: Feel free to customize the vegetables. Sliced mushrooms, corn kernels (fresh or frozen), green beans, or even diced potatoes (parboil them first) can be wonderful additions or substitutions. Adjust sauté time accordingly for harder vegetables.
- Herb Power: Don’t underestimate the power of fresh herbs if you have them. Fresh thyme and rosemary are even more aromatic than dried. If using fresh, a general rule is to use about three times the amount of dried herbs called for.
- Cheese, Please!: For an extra layer of indulgence, try sprinkling shredded cheddar, Monterey Jack, or a Parmesan blend over the chicken filling before topping with biscuits. You can also incorporate some cheese into your homemade biscuit dough.
- Achieving the Perfect Sauce Consistency: If your sauce seems too thin, let it simmer a little longer to reduce and thicken. If it’s too thick, whisk in a little more chicken broth or milk until it reaches your desired consistency. Remember, it will thicken slightly more as it cools.
- Make-Ahead Components: You can prepare the chicken filling a day in advance. Cool it completely, store it in an airtight container in the refrigerator, and then reheat gently on the stovetop before topping with biscuits and baking. This makes assembly on a busy night much faster.
- Don’t Overcrowd Biscuits: When placing biscuits on top, give them a little space if possible, as they will expand during baking. If they are too crowded, they might not cook through evenly in the centers. Slight overlapping is usually fine.
FAQ Section
- Q: Can I use chicken thighs instead of breasts?
A: Absolutely! Chicken thighs are a fantastic choice for Homestyle Chicken and Biscuits. They tend to be more flavorful and stay moister than chicken breasts. You can use boneless, skinless chicken thighs, cook them, and then shred or cube them just like you would with breasts. - Q: How do I make this recipe gluten-free?
A: To make this gluten-free, you’ll need to substitute the all-purpose flour with a good quality gluten-free all-purpose flour blend for thickening the sauce. You’ll also need to use gluten-free biscuits, either store-bought or a trusted homemade recipe. Ensure your chicken broth is also certified gluten-free. - Q: Can I make this dairy-free?
A: Yes, you can adapt this recipe to be dairy-free. Use a dairy-free butter alternative (like a plant-based spread) for sautéing. For the creamy sauce, substitute the whole milk or heavy cream with an unsweetened, plain plant-based milk like almond, soy, or oat milk (full-fat oat milk or cashew milk often provide good creaminess). Ensure your refrigerated biscuits are dairy-free, or make your own dairy-free version. - Q: How do I store and reheat leftovers?
A: Store leftover Homestyle Chicken and Biscuits in an airtight container in the refrigerator for up to 3-4 days. To reheat, you can microwave individual portions, but for best results (to keep biscuits from getting too soggy), reheat in an oven at 350°F (175°C) for 15-20 minutes, or until warmed through. You might want to cover it with foil to prevent the biscuits from over-browning. - Q: Can I freeze Homestyle Chicken and Biscuits?
A: Yes, you can freeze it, though the texture of the biscuits might change slightly upon thawing and reheating. It’s best to freeze the chicken filling separately, then thaw, reheat, and top with fresh biscuits before baking. If freezing the fully assembled and baked dish, cool it completely, wrap well in plastic wrap and then foil, and freeze for up to 2-3 months. Thaw overnight in the refrigerator and reheat in the oven. - Q: My sauce is too thin/thick. What can I do?
A: If your sauce is too thin, you can let it simmer a bit longer on the stovetop before adding the chicken and peas, allowing more liquid to evaporate. Alternatively, make a small slurry by mixing 1 tablespoon of cornstarch with 2 tablespoons of cold water, then whisk it into the simmering sauce until thickened. If the sauce is too thick, simply whisk in a little more chicken broth or milk until it reaches your desired consistency. - Q: What if I don’t have an oven-safe skillet?
A: No problem! Simply prepare the chicken filling in a regular large skillet or pot on the stovetop as directed. Once the filling is ready, transfer it to a greased 9×13 inch baking dish (or a similar-sized casserole dish), top with the biscuits, and then bake in the preheated oven according to the recipe instructions. - Q: Can I add other spices for a different flavor profile?
A: Definitely! This Homestyle Chicken and Biscuits recipe is a great base for experimentation. Consider adding a pinch of nutmeg to the creamy sauce for warmth, a dash of cayenne pepper for a little heat, or some smoked paprika for a smoky depth. You could also experiment with other herbs like sage or marjoram. Adjust to your family’s taste preferences!

Homestyle Chicken and Biscuits
Ingredients
- For the Chicken Filling:
- 2 tablespoons unsalted butter: For sautéing the vegetables and creating a rich base.
- 1 tablespoon olive oil: Complements butter and helps prevent burning.
- 1 medium yellow onion, chopped (about 1 cup): Adds a sweet, aromatic foundation.
- 2 medium carrots, peeled and diced (about 1 cup): Provides sweetness, color, and texture.
- 2 celery stalks, diced (about 1 cup): Offers a subtle savory note and classic mirepoix flavor.
- 2 cloves garlic, minced: For a pungent, aromatic kick.
- 1/3 cup all-purpose flour: The key thickening agent for the creamy sauce.
- 2 cups chicken broth (low sodium preferred): Forms the liquid base of the sauce; low sodium allows for better salt control.
- 1 cup whole milk or heavy cream: Adds richness and creaminess to the sauce. Heavy cream will make it richer.
- 1 teaspoon dried thyme: A classic herb pairing for chicken, lending an earthy flavor.
- 1/2 teaspoon dried rosemary, crushed: Adds a piney, robust aroma.
- 1/2 teaspoon salt, or to taste: Enhances all the flavors.
- 1/4 teaspoon black pepper, or to taste: For a touch of warmth.
- 3 cups cooked chicken, shredded or cubed: Rotisserie chicken works wonderfully for convenience, or poach/bake your own.
- 1 cup frozen peas: Added at the end for a pop of color and sweetness.
- 1/4 cup fresh parsley, chopped (optional for garnish and flavor): Brightens the dish.
- For the Biscuits:
- 1 can (16.3 ounces) refrigerated buttermilk biscuits (e.g., Pillsbury Grands!): For a quick and reliably fluffy topping. Alternatively, use your favorite homemade biscuit recipe.
Instructions
- Preheat and Prepare: Preheat your oven to 400°F (200°C). If your skillet isn’t oven-safe, have a 9×13 inch baking dish or a similar-sized casserole dish ready.
- Sauté Aromatics: In a large, deep, oven-safe skillet (a 10-12 inch cast iron skillet is ideal) or a Dutch oven, melt the butter with olive oil over medium heat. Add the chopped onion, diced carrots, and diced celery. Sauté for 7-9 minutes, stirring occasionally, until the vegetables are softened but not browned.
- Add Garlic and Flour: Stir in the minced garlic and cook for another minute until fragrant. Be careful not to burn the garlic. Sprinkle the all-purpose flour over the vegetables and stir continuously for 1-2 minutes to cook out the raw flour taste. This creates a roux that will thicken the sauce.
- Create the Creamy Sauce: Gradually whisk in the chicken broth, a little at a time, ensuring there are no lumps. Once all the broth is incorporated and the mixture is smooth, slowly whisk in the milk or heavy cream.
- Season and Simmer: Stir in the dried thyme, crushed rosemary, salt, and black pepper. Bring the mixture to a gentle simmer, stirring frequently, and cook for 3-5 minutes, or until the sauce has thickened to a gravy-like consistency. Taste and adjust seasonings if necessary.
- Incorporate Chicken and Peas: Remove the skillet from the heat. Gently stir in the cooked, shredded, or cubed chicken and the frozen peas until everything is well combined and coated in the creamy sauce. If you’re using fresh parsley in the filling, stir it in now.
- Transfer if Necessary: If your skillet is not oven-safe, pour the chicken mixture into your prepared baking dish.
- Top with Biscuits: Open the can of refrigerated biscuits and separate them. Arrange the biscuits evenly on top of the chicken filling. They can be close together or slightly overlapping, as they will expand while baking.
- Bake to Golden Perfection: Transfer the skillet or baking dish to the preheated oven. Bake for 15-20 minutes, or until the biscuits are golden brown and cooked through, and the filling is hot and bubbly around the edges. If the biscuits start to brown too quickly, you can loosely tent the dish with aluminum foil for the last few minutes of baking.
- Rest and Serve: Carefully remove the Homestyle Chicken and Biscuits from the oven. Let it rest for 5-10 minutes before serving. This allows the filling to set slightly and cool down a bit. Garnish with additional fresh parsley, if desired.
Nutrition
- Serving Size: one normal portion
- Calories: 550
- Fat: 28g
- Carbohydrates: 50g
- Protein: 30g