
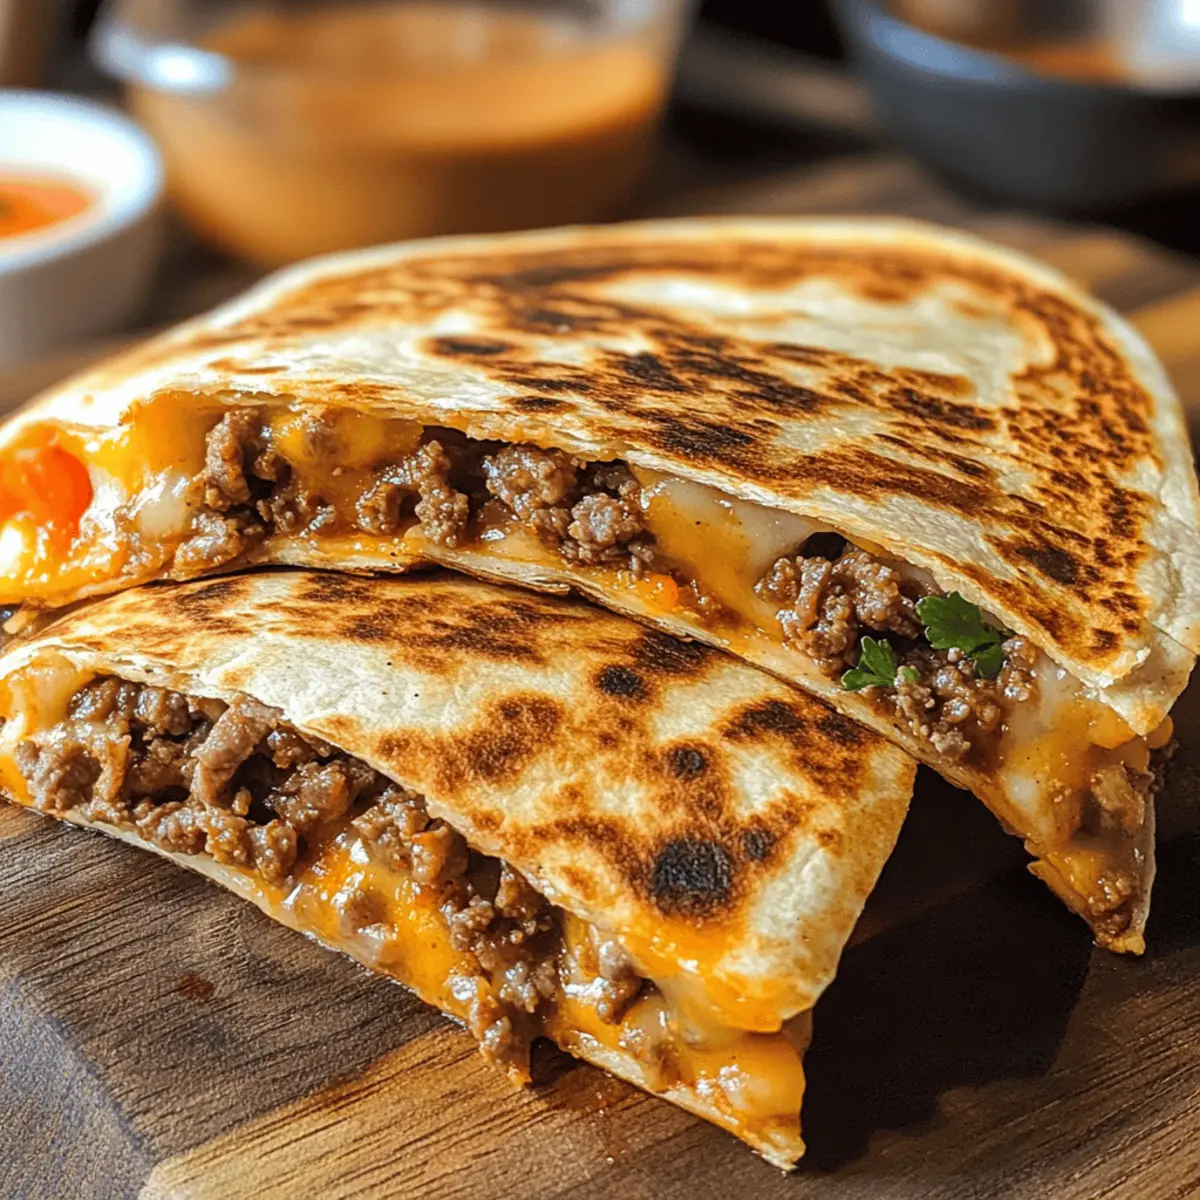
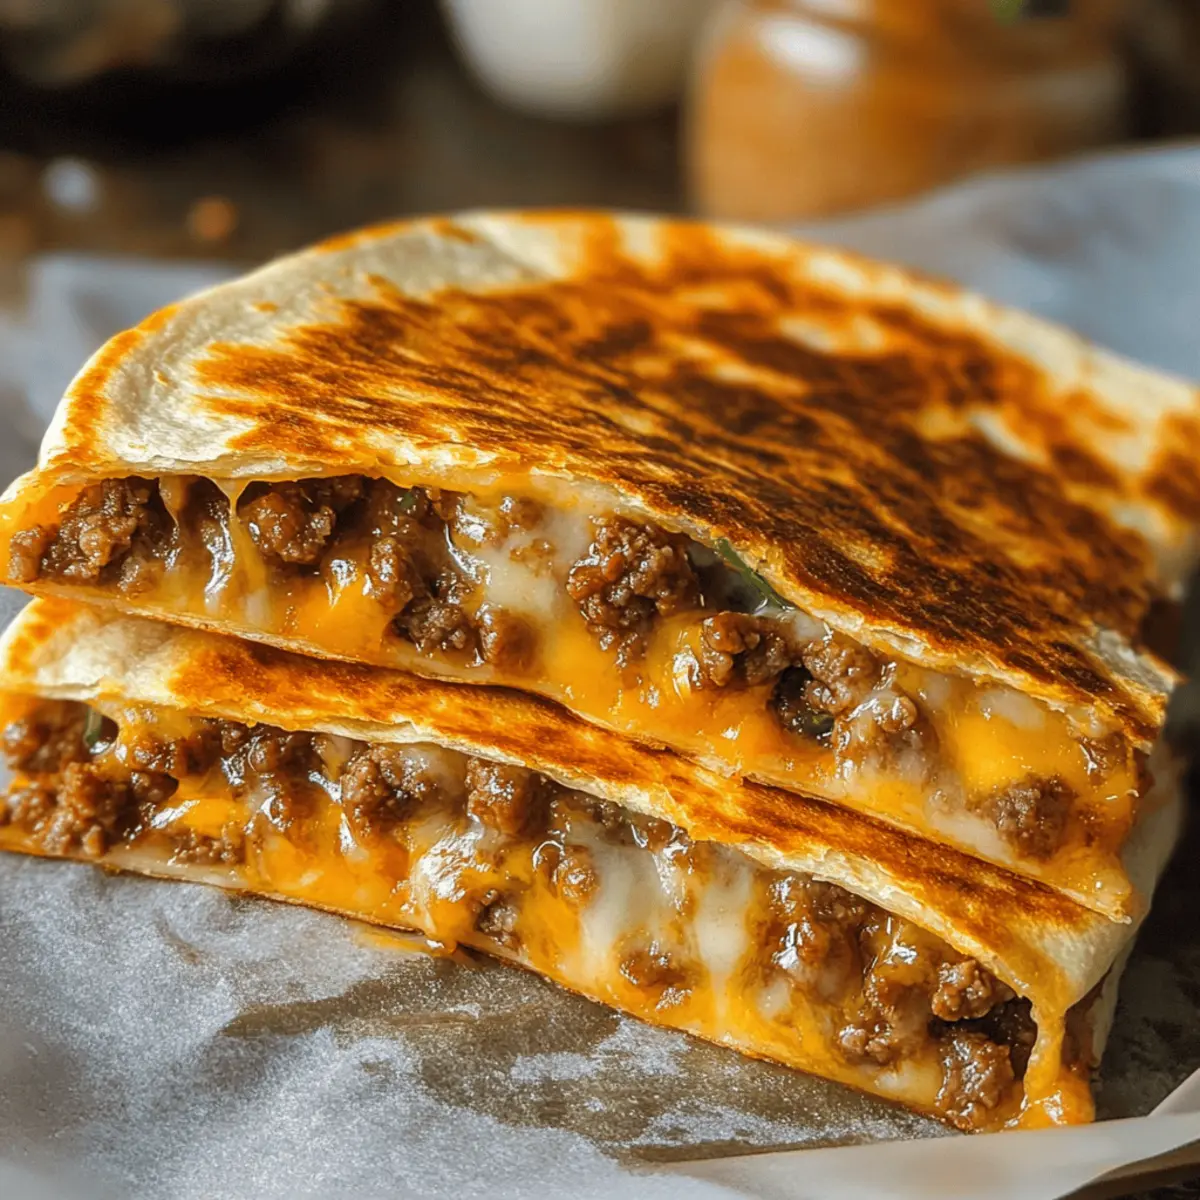
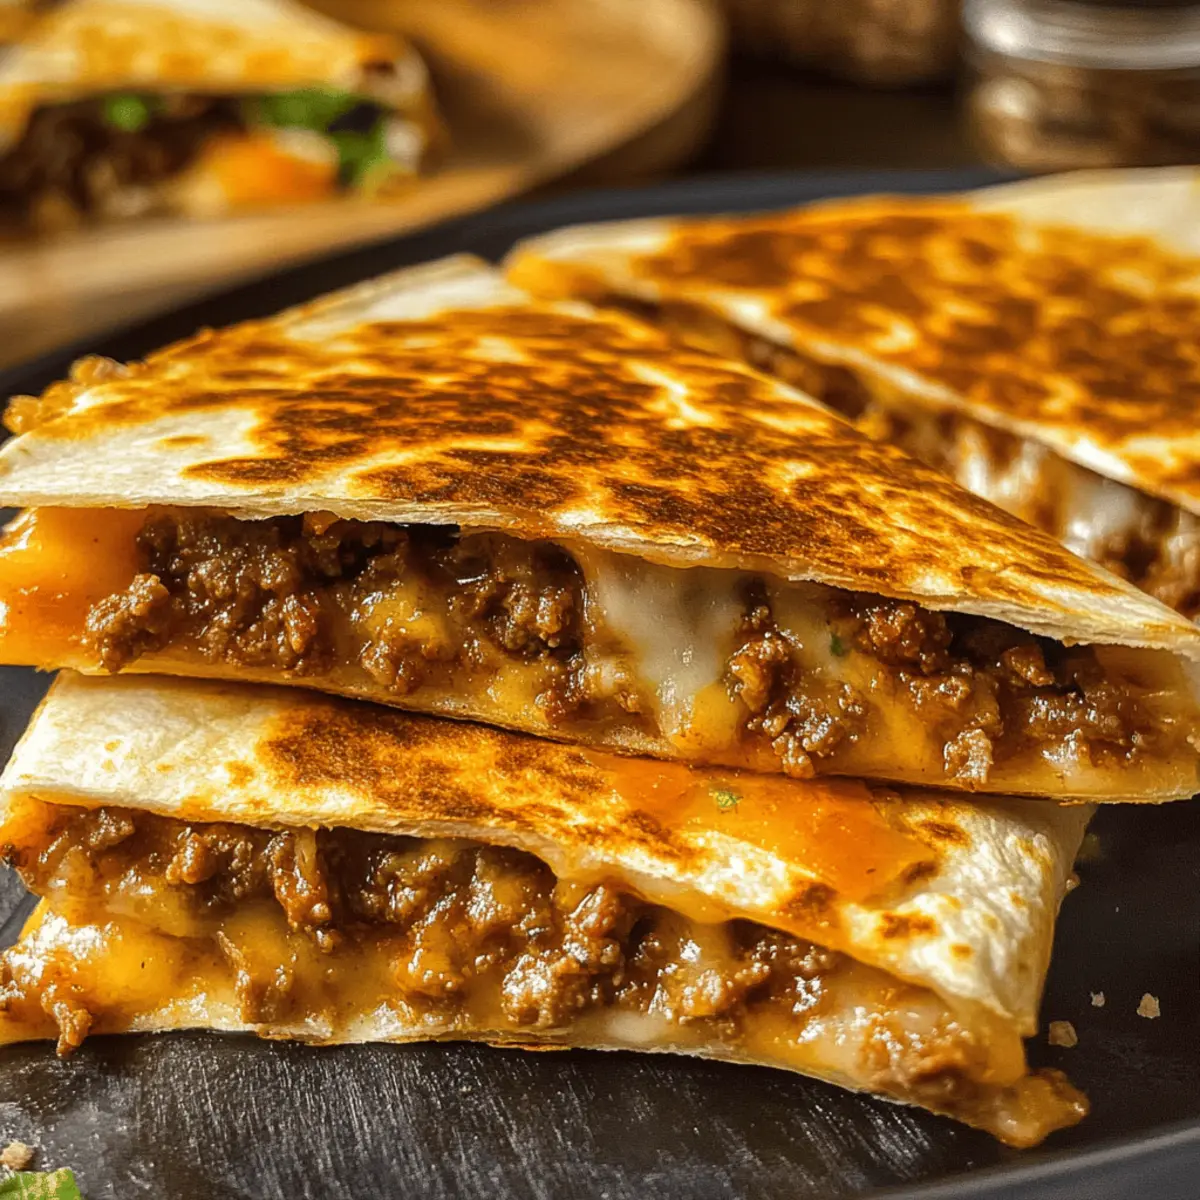
There’s something irresistibly satisfying about the crisp edges and gooey center of Cheesy Beef Quesadilla Slices that never fails to brighten up any meal. After a long day craving comfort food that feels homemade but comes together quickly, I discovered this recipe is the perfect answer. The melty cheese mingling with savory, seasoned beef, all wrapped in a warm tortilla, creates a handheld delight that’s both easy to make and impossible not to devour. Whether you’re feeding a hungry crowd or just treating yourself to a cozy night in, these quesadilla slices hit every note—flavorful, cheesy, and utterly crave-worthy. Let me take you through how to whip up this crowd-pleaser that turns simple ingredients into pure mealtime magic.
Why choose Cheesy Beef Quesadilla Slices?
Versatile and Crowd-Pleasing: These slices are perfect for family dinners or casual gatherings. Quick and Easy: Ready in under 30 minutes with minimal prep. Loaded with Flavor: Savory beef pairs flawlessly with melted cheese and spices. Perfect Texture: Crispy tortilla edges meet gooey, cheesy centers every time. Comfort Food Classic: Satisfies cravings for a warm, homemade meal without fuss.
Cheesy Beef Quesadilla Slices Ingredients
For the Savory Beef Filling
- Ground beef – Choose lean for less grease but keep some fat for flavor and juiciness.
- Onion – Finely chopped to add sweetness and depth to the beef.
- Garlic cloves – Minced for a fragrant, savory punch that complements the beef.
- Chili powder – Adds warmth and mild heat, balancing the cheesy richness.
- Cumin – Earthy spice that enhances the beef’s savory profile beautifully.
- Salt and pepper – Essential for seasoning the beef evenly and bringing out all flavors.
For the Cheese Layer
- Shredded cheddar cheese – Melts perfectly for that classic gooey texture.
- Monterey Jack cheese – Mild and creamy, balances the sharpness of cheddar.
For Assembly and Cooking
- Flour tortillas – Warm and pliable tortillas ensure easy folding and crisp edges.
- Butter or oil – Used to crisp the tortilla golden brown, adding flavor and crunch.
This perfectly balanced list of Cheesy Beef Quesadilla Slices ingredients keeps everything simple but flavorful, guaranteeing that irresistible melty texture with every bite.
How to Make Cheesy Beef Quesadilla Slices
- Preheat Skillet: Place a large nonstick skillet over medium heat, then add a tablespoon of butter or oil, letting it shimmer until hot and ready for cooking.
- Cook Beef: Add ground beef and chopped onion to the hot skillet, breaking meat apart; sauté for 5–7 minutes until beef is browned and onions have softened completely.
- Season Filling: Stir in minced garlic, chili powder, and cumin; season with salt and pepper, then cook for another 1–2 minutes until aromatic and spices bloom beautifully.
- Assemble Quesadilla: Lay one warmed tortilla on a flat surface; sprinkle half the cheddar and Monterey Jack, top with beef filling, then finish with remaining cheese before folding.
- Toast One Side: Melt butter or heat oil in skillet over medium; place folded quesadilla and cook 3–4 minutes until bottom turns golden brown and cheese begins to melt.
- Flip and Finish: Using a spatula, carefully flip quesadilla and cook another 2–3 minutes, pressing gently for even browning and ensuring cheese is completely melted inside.
- Slice and Serve: Transfer quesadilla to a cutting board, let rest for 1 minute to set, then cut into wedges and serve piping hot with your favorite sides.
Optional: Sprinkle chopped cilantro before serving for a fresh, vibrant finish.
Exact quantities are listed in the recipe card below.
What to Serve with Cheesy Beef Quesadilla Slices?
Elevate your mealtime with delightful pairings that complement the gooey richness and savory flavor of your quesadilla slices.
-
Fresh Guacamole: This creamy dip adds a luscious, cool contrast, enhancing the savory quesadilla with fresh avocado goodness.
-
Zesty Salsa: A bright, tangy salsa offers a juicy burst of flavor that cuts through the cheesiness, making each bite more exciting.
-
Spanish Rice: Fluffy rice infused with spices rounds out the meal while providing a comforting foundation to soak up all the flavors.
-
Crispy Tortilla Chips: For added crunch and a satisfying texture, serve these with salsa or guacamole for a fun appetizer alongside the quesadilla.
-
Mexican Street Corn Salad: Bright and colorful, this salad offers sweet corn, lime, and cheese, harmonizing perfectly with your savory quesadillas for a refreshing side.
-
Refried Beans: Creamy beans serve as a hearty side, adding protein and fiber while enhancing the overall Latin flavor profile of your meal.
-
Charro Beans: Offering a smoky and savory flavor, these beans complement the beef filling, adding depth to every plate.
-
Chilled Margarita: For a festive drink option, a refreshing margarita balances the richness of the quesadillas perfectly, making every bite feel like a celebration.
Every pairing contributes its unique character, creating a meal that’s truly memorable and filled with flavor harmony!
How to Store and Freeze Cheesy Beef Quesadilla Slices
-
Room Temperature: Serve immediately for the best taste. If needed, quesadilla slices can sit at room temperature for up to 2 hours before safety is a concern.
-
Fridge: Store leftover cheesy beef quesadilla slices in an airtight container for up to 3 days. Place parchment paper between layers to maintain crispness.
-
Freezer: For longer storage, freeze quesadilla slices individually wrapped in plastic wrap and placed in a freezer-safe bag. They can last up to 2 months without losing quality.
-
Reheating: Reheat frozen slices in a toaster oven or skillet over medium heat for 5–7 minutes until heated through and crispy. This preserves the perfect texture of your cheesy beef quesadilla slices.
Make Ahead Options
These Cheesy Beef Quesadilla Slices are ideal for meal prep enthusiasts looking to save time during the week! You can prepare the savory beef filling up to 3 days in advance; just cook and season it fully, then cool and refrigerate in an airtight container. Additionally, assembling the quesadillas can be done up to 24 hours ahead—layer the beef and cheese in between the tortillas, cover tightly, and refrigerate. To maintain quality, ensure they are well-wrapped to prevent drying out. When you’re ready to serve, simply heat a skillet and toast the quesadillas until golden and crispy, and enjoy a delicious homemade meal with minimal effort!
Cheesy Beef Quesadilla Slices Variations
Make your Cheesy Beef Quesadilla Slices uniquely yours with these delightful twists and substitutions!
-
Spicy Kick: Add chopped jalapeños or crushed red pepper flakes for a bold heat that ignites your taste buds. If you dare to turn the heat up a notch, consider this your flavor adventure.
-
Vegetarian Delight: Swap the ground beef for black beans or sautéed mushrooms, ensuring a hearty and satisfying alternative. You won’t miss the meat with all that rich flavor in every bite!
-
Cheese Overload: Experiment with your favorite cheese blends, such as pepper jack or gouda, for varied flavor profiles. Mixing and matching cheeses can create a melty wonderland that keeps you coming back for more.
-
Fresh Herbs: Stir in fresh cilantro or parsley into your beef filling for a burst of freshness that brightens the flavors beautifully. Just a handful can transport your quesadilla slices from hearty comfort to a refreshing feast!
-
Sweet Twist: Add a handful of caramelized onions to the beef for a hint of sweetness that complements the savory aspects of the dish. This little twist could become your new favorite flavor secret.
-
Tortilla Variety: Use whole wheat, corn, or gluten-free tortillas for a healthier or dietary-friendly option. This simple substitution ensures that everyone at your table can enjoy this delicious treat.
-
Extra Crunch: Top your quesadillas with crushed tortilla chips just before flipping for a delightful crunchy texture. It’s a surprising element that will keep both kids and adults enticed!
-
Flavored Oils: Cook your quesadilla in garlic-infused oil or chili oil for an added depth of flavor that will elevate your quesadilla experience. It’s an easy change that brings a whole new dimension to your dish.
Expert Tips for Cheesy Beef Quesadilla Slices
- Use Fresh Tortillas: Warm your flour tortillas before filling to make folding easier and prevent cracking, ensuring perfectly crisp quesadilla slices.
- Balance Cheese and Beef: Don’t overload with beef or cheese—too much filling makes folding tricky and can cause uneven cooking or leakage.
- Cook Over Medium Heat: Medium heat crisps tortillas evenly without burning, allowing the cheese inside to melt to gooey perfection.
- Rest Before Slicing: Letting quesadilla slices rest for a minute helps the cheese set slightly, preventing mess and improving slice presentation.
- Season Thoughtfully: Taste your beef filling before assembling to adjust seasoning, so every bite of your cheesy beef quesadilla slices bursts with flavor.
Cheesy Beef Quesadilla Slices Recipe FAQs
How do I know if my ground beef is fresh and suitable for this recipe?
Look for ground beef that is bright red with no dark spots or discoloration. Fresh beef should have a clean smell—avoid any sour or off odors. Using quality beef ensures a juicy, flavorful filling for your quesadilla slices.
Can I store leftover quesadilla slices in the fridge, and for how long?
Absolutely! Keep your leftover Cheesy Beef Quesadilla Slices in an airtight container lined with parchment paper between layers to preserve crispness. Stored this way, they stay fresh for up to 3 to 4 days in the refrigerator.
Is it possible to freeze Cheesy Beef Quesadilla Slices? If so, how should I do it?
Yes, freezing is a great way to preserve your quesadillas! Wrap each slice individually in plastic wrap to prevent freezer burn. Then, place them in a freezer-safe bag or container. Your quesadilla slices can last up to 2 months frozen. To reheat, pop them in a toaster oven or skillet over medium heat for about 5 to 7 minutes, ensuring they become crispy again without drying out.
What if my quesadilla won’t crisp up properly or the cheese isn’t melting fully?
Try cooking over medium heat—not too high to avoid burning, but enough to let the cheese melt evenly. Also, be sure not to overfill your quesadilla; too much filling can prevent even heating and cause soggy or under-melted cheese. A bit of patience in cooking it slowly and pressing gently with a spatula often does the trick!
Are Cheesy Beef Quesadilla Slices safe for pets or people with dairy allergies?
While these quesadilla slices are not pet-friendly due to onions, garlic, and spices in the beef, they can be made dairy-free by using plant-based cheese alternatives and skipping the butter or oil for crisping. For allergy-sensitive guests, always check ingredient labels and consider separate preparation areas to avoid cross-contact.

Irresistibly Cheesy Beef Quesadilla Slices You’ll Crave Tonight
Ingredients
Equipment
Method
- Preheat Skillet: Place a large nonstick skillet over medium heat, then add a tablespoon of butter or oil, letting it shimmer until hot and ready for cooking.
- Cook Beef: Add ground beef and chopped onion to the hot skillet, breaking meat apart; sauté for 5–7 minutes until beef is browned and onions have softened completely.
- Season Filling: Stir in minced garlic, chili powder, and cumin; season with salt and pepper, then cook for another 1–2 minutes until aromatic.
- Assemble Quesadilla: Lay one warmed tortilla on a flat surface; sprinkle half the cheddar and Monterey Jack, top with beef filling, then finish with remaining cheese before folding.
- Toast One Side: Melt butter or heat oil in skillet over medium; place folded quesadilla and cook 3–4 minutes until bottom turns golden brown and cheese begins to melt.
- Flip and Finish: Using a spatula, carefully flip quesadilla and cook another 2–3 minutes, pressing gently for even browning and ensuring cheese is completely melted.
- Slice and Serve: Transfer quesadilla to a cutting board, let rest for 1 minute to set, then cut into wedges and serve piping hot.